Showing posts with label Christmas. Show all posts

Wednesday, December 24, 2014

Christmas Cake Pops pt. 2

 photo thenewbakingmemoirs_zps410cbd72.jpg
 Still need more ideas on how to decorate cake pops for Christmas even after part 1? Here are a few more designs I came up with in my Christmas cake pop frenzy. And for a simple way to dress them up as a gift, just buy some red plastic cups, add a foam belt and glitter puff paint for the buckle. Insert a piece of Styrofoam into the cup, add tissue paper and arrange your pops by sticking them into the foam. I added a handmade gift tag to finish up the look. I love the way these turned out and I'm so excited to deliver them to a few of our family and friends!

 Penguins with little flower sprinkles for their happy feet were a must for me.
 How about some polar bears? You can even keep it simple and use black pearl sprinkles for the eyes and candy eyeballs for the snout and nose. Make it even more fun by adding lots of fur.
 Or any bears...okay I guess panda bears don't really have anything to do with Christmas...but I LOVE PANDAS! They are so cute and I had to make at least one.
If you have the same impulse with any other animal or cake pop character, make it anyways and then just add a Santa hat. Don't Santa hats make everything relate to Christmas?
For something a little more simple and extra delicious add some peppermint extract to your candy melt coating and then sprinkle with crushed candy canes. These were so tasty, that while doing a taste test I accidentally ate five!
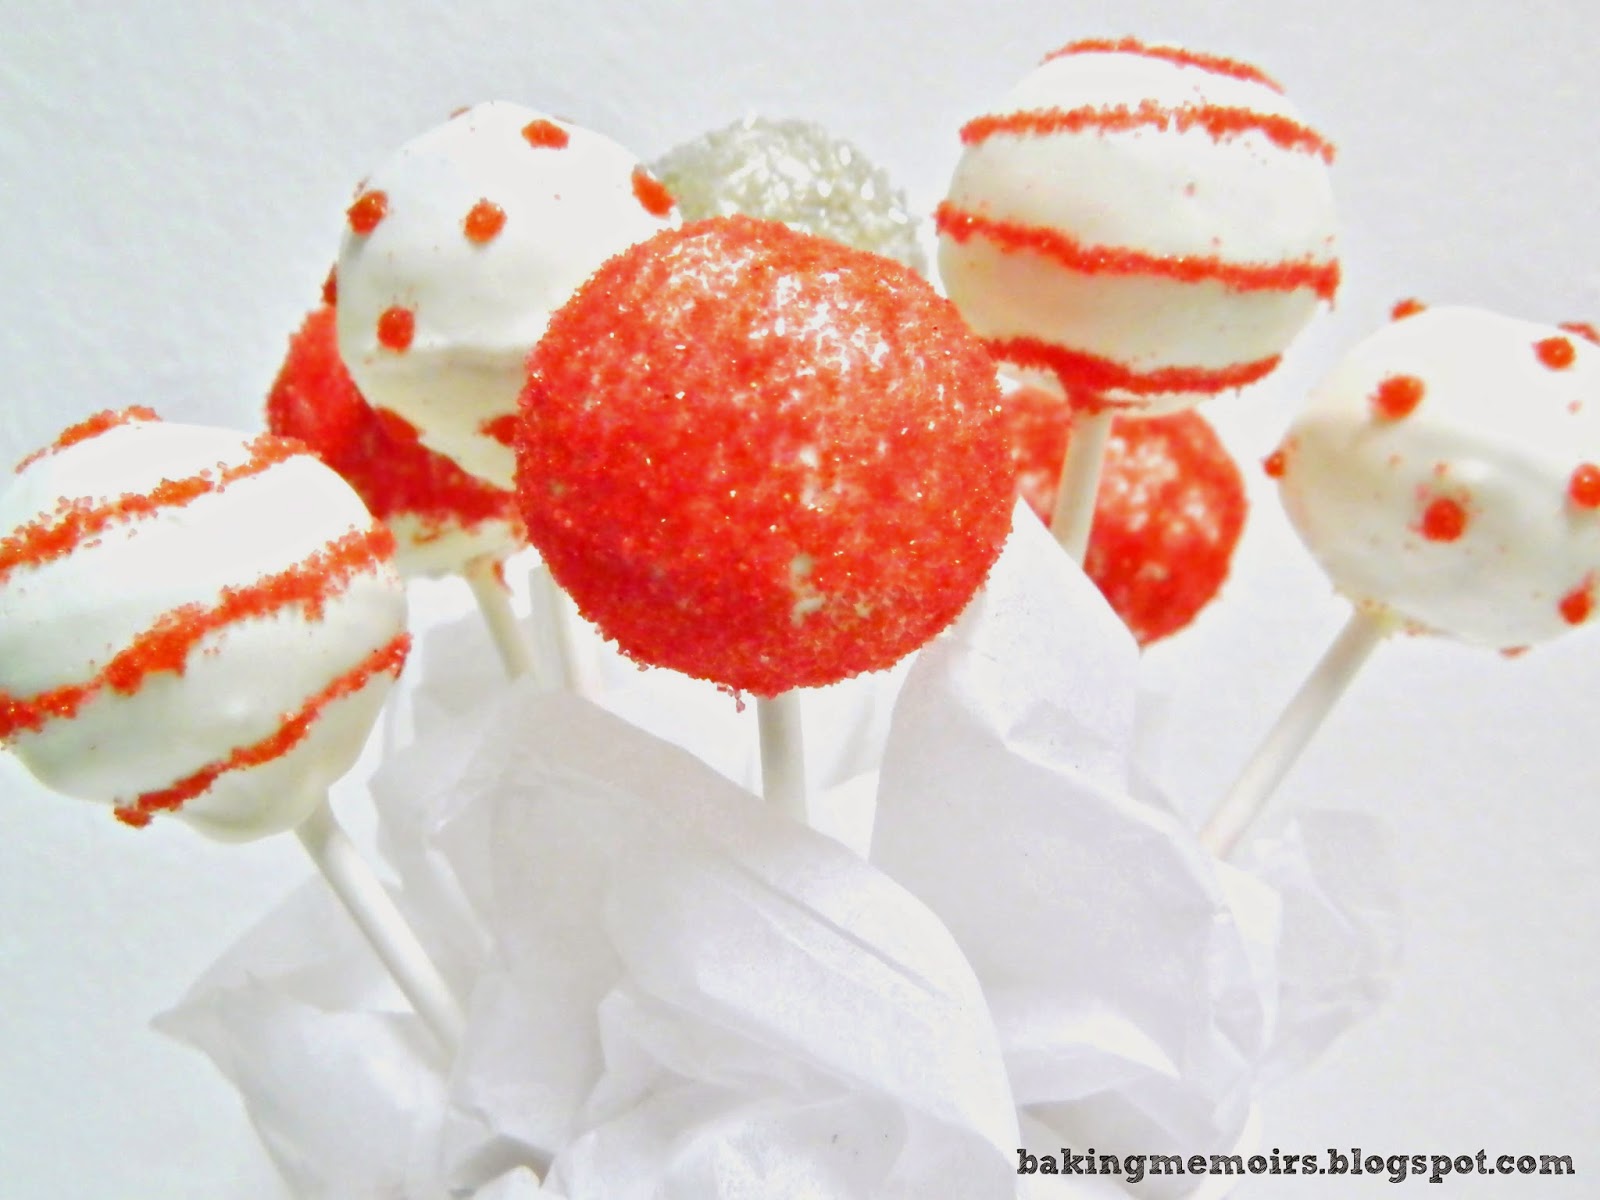
 
 Of course just covering the whole thing in sprinkles works too. Or use paint a design with corn syrup before dipping it in the sprinkles.

I hope you can find some inspiration from these Christmas cake pops. And if anyone is a cake pop making expert I'd love any tips or advice as well.

 photo thenewbakingmemoirs_zps410cbd72.jpg

Monday, December 22, 2014

Christmas Cake Pops pt.1

 photo thenewbakingmemoirs_zps410cbd72.jpg
 With Christmas just around the corner and my new found love of cake pops I thought it would be fun to make a bunch to give as gifts to some of our family and friends. I've made a variety so I'll share them all in two separate posts. I want to make a variety pack of cake pops and cookies that will be just as cute as they are tasty.
Along with your viewing pleasure, please enjoy this little jingle written by yours truly to commemorate my new found cake pop making love...to the tune of The Christmas Song aka Chestnuts Roasting since we are in the holiday mood of course.
♪Cake pops sitting on my kitchen counter.
Melted chocolate on the stove.
Tiny dots, for their eyes and his nose,
will make these cake pops so divine♪
   
♪Everybody knows that I like making real cute food
But they've not seen these cake pops yet
With all this cuteness, how they'll react I don't know
But I hope these pops will fill them with delight♪
 ♪Oooh look here's Santa on his way
He has no beard or mouth but just look at that face!
And all my facebook friends are going to try
to convince me to make them a few cake pops for tonight.♪
♪And so, I'll find a way to get more supplies
to bake another fifty or ninety-two
I've got more pops to make, but there is time and many ways
I love making cake pops, Christmas cake pops, making cake pops for you! ♪
These cake pops are so fun to make!
Be sure to stay tuned for more Christmas cake pop ideas and a cute and simple packaging tutorial.
What other designs could I make for Christmas?

 photo thenewbakingmemoirs_zps410cbd72.jpg

Wednesday, December 21, 2011

Peanut Butter Reindeer Cookies: Recipe

 photo thenewbakingmemoirs_zps410cbd72.jpg

My new favorite Christmas cookie...for the moment anyways. I love soft peanut butter cookies and then you add some chocolate and then the sweet and saltiness of the chocolate covered pretzels, heavenly!

Peanut Butter Cookie Recipe:

Ingredients:
  • 1 cup unsalted butter
  • 1 1/2 cup your favorite peanut butter
  • 1 cup white sugar
  • 1 cup brown sugar
  • 2 eggs
  • 3 cups all-purpose flour
  • 1 tsp baking powder
  • 1/2 tsp salt
  • 1 1/2 tsp baking soda
Directions:
1) Cream together butters and sugar. Beat in the eggs
2) In a separate bowl, sift together remaining ingredients.
3) Add flour mixture to butter and eggs.
4) Once combined cover and refrigerate for about an hour.
5) Roll chilled dough into 1 inch balls and place onto a baking sheet.
*For plain peanut butter cookies flatten each ball with a fork making a criss cross pattern.
*For reindeer cookies  roll one 1 inch ball and one 1 1/2 inch ball per reindeer. Use the bottom of a glass to flatten the cookies and place the smaller circle onto the larger one (don't center).
6) Bake for 8-10 minutes in a 375 degree preheated oven, just until the edges begin to brown. Be careful not to overbake. 
*For reindeer cookies add M&M nose, Keebler Fudge Dipped Pretzels, and mini chocolate chips for eyes immediately after taking it out of the oven. Then move to cool.
7)Move to foil or cooling rack to cool. 
 photo thenewbakingmemoirs_zps410cbd72.jpg

Chocolate Covered Oreos (tutorial)

 photo thenewbakingmemoirs_zps410cbd72.jpg
So this month I tried my hand at making these chocolate dipped Oreos. At first I had a hard time with it and than I realized it was just because I was over-complicating it (I blame it on being a perfectionist). Once I realized that, this project became very simple!
To make chocolate covered Oreos all you need is:
  • Oreos
  • Chocolate melts
  • shortening
  • fork
  • wax paper/foil
Directions:
1) Melt your chocolate melts and about 2 tbs of shortening per bag (directions on bag)
2) put your Oreo into the melted chocolate, use your fork to make sure the entire cookie is covered (I usually need to scoop some extra chocolate to cover the top and sides)
3) Using your fork lift the cookie out of the chocolate and tap the fork gently on the side of the bowl to remove excess chocolate. As you do this the chocolate will also naturally smooth itself out.
4) Place your covered cookie on some wax paper or foil to dry.
*if you wish to add sprinkles, add them before the chocolate dries
*if you want to drizzle a different color chocolate on your cookie to fancy it up wait until the chocolate dries before drizzling.

  
Simple right?! So you are probably wondering how I seemed to over complicate such a simple process. Well as you see in the photo above, the white chocolate on the top two cookies isn't very smooth, here's why. During my first attempt at making these cookies here are all the things I did wrong: dipping the cookies with my fingers, using a toothpick instead of a fork, shaking the dipped cookies instead of tapping, not tapping gently, dipping half of the cookie at a time, and using a knife to spread on the chocolate.
To make a long story short, none of those methods worked and I made a mess.


If you want to make these cute reindeer chocolate covered Oreos just add two Keebler Fudge Dipped Pretzels for antlers, a red M&M for a nose, and two dots of brown chocolate for eyes.
*Eyeball variations: roll tootsie rolls into balls or mini chocolate chips 

 photo thenewbakingmemoirs_zps410cbd72.jpg

Tuesday, December 6, 2011

Melting Snowman Chocolate Sugar Cookies

 photo thenewbakingmemoirs_zps410cbd72.jpg
Christmas is right around the corner, and nothing says Christmas like snowmen and cookies. But here in Hawaii  since I don't live up in Mauna Kea a snowman sadly would not survive. So these "I'm melting!" Snowmen Cookies are a great tribute to Christmas here in the islands. I've seen similar cookies done before on Pinterest and figured I'd give it a decorating go myself. They are quite cute and tasty if I do say so myself! 
It was also an awesome opportunity to test out a Chocolate Sugar Cookie Recipe and to once again use my new favorite royal icing recipe (I actually feel like I'm a professional decorator every time I use it). I'm not that huge a fan of sugar cookies, but these chocolate sugar cookies are absolutely amazing!!!

CHOCOLATE SUGAR COOKIES:
      Ingredients:
1 cup all-purpose flour
1/3 cup Dark chocolate cocoa powder
1/8 tsp. salt
6 tbsp. (3 oz.) unsalted butter, at room temperature
¾ cup confectioners’ sugar
1 large egg
½ tsp. vanilla extract
 Directions:
In a small bowl, combine the flour, cocoa powder and salt; whisk to blend and set aside. In another bowl combine the butter and sugar with an electric mixer.  Beat on medium-high speed until light and fluffy, 2-3 minutes.  Blend in the egg and vanilla.  With the mixer on low speed, add the dry ingredients and mix just until incorporated and no streaks remain.  Form the dough into a disc, wrap tightly with plastic wrap and refrigerate until firm, 1-2 hours.
Preheat the oven to 325˚ F.  Line a baking sheet with parchment paper or a silicone baking mat.  On a lightly floured work surface, roll the dough out to about ¼-inch thickness.  Cut out desired shapes with cookie cutters and place cut outs on the prepared baking sheet.  Bake 10-12 minutes, just until set.  Let cool on the baking sheet about 5 minutes, then transfer to a wire rack to cool completely.  Decorate as desired.
Yield: will make 30 1 1/2 inch round cookies, but amount will vary depending on the size of the cookie cutter(s) you use.

*P.S. I made one batch and then 3 more because they taste that good!

I'm working on a few other Christmas craft projects so I'm sorry I've been missing in action for a while. I should be posting up a few more recipes by the end of the year (fingers crossed).

Happy Baking!


 photo thenewbakingmemoirs_zps410cbd72.jpg
Related Posts Plugin for WordPress, Blogger...